
With the current state of the world, many welding companies and education facilities are temporarily closed down to appease the stay at home order set in place this March. While it is in everybody’s best interest to do so, people who are learning or developing their welding skills might see this as another barrier to entry for their career path.
While it can be disheartening to know that you can’t keep up on your skill development in the environment you were used to, there are some projects that can be taken on from home that can help develop your skills and keep you on top of things for when the world starts turning again. Read on to learn about various welding projects that you can do from home, whether you have your own personal welding equipment or not.
Projects for Those Who Own Welding Equipment
If you own your own welding equipment, keeping up to date on your skill development can come at a much quicker and more linear rate. This makes sense, because you will ideally have similar (if not the same) tools that are present within your educational learning facility. These projects range in difficulty, and you can either push yourself to the next level through personal trials or take on projects that align with your current knowledge base. Here are a few to help you get started:
Custom Built Table
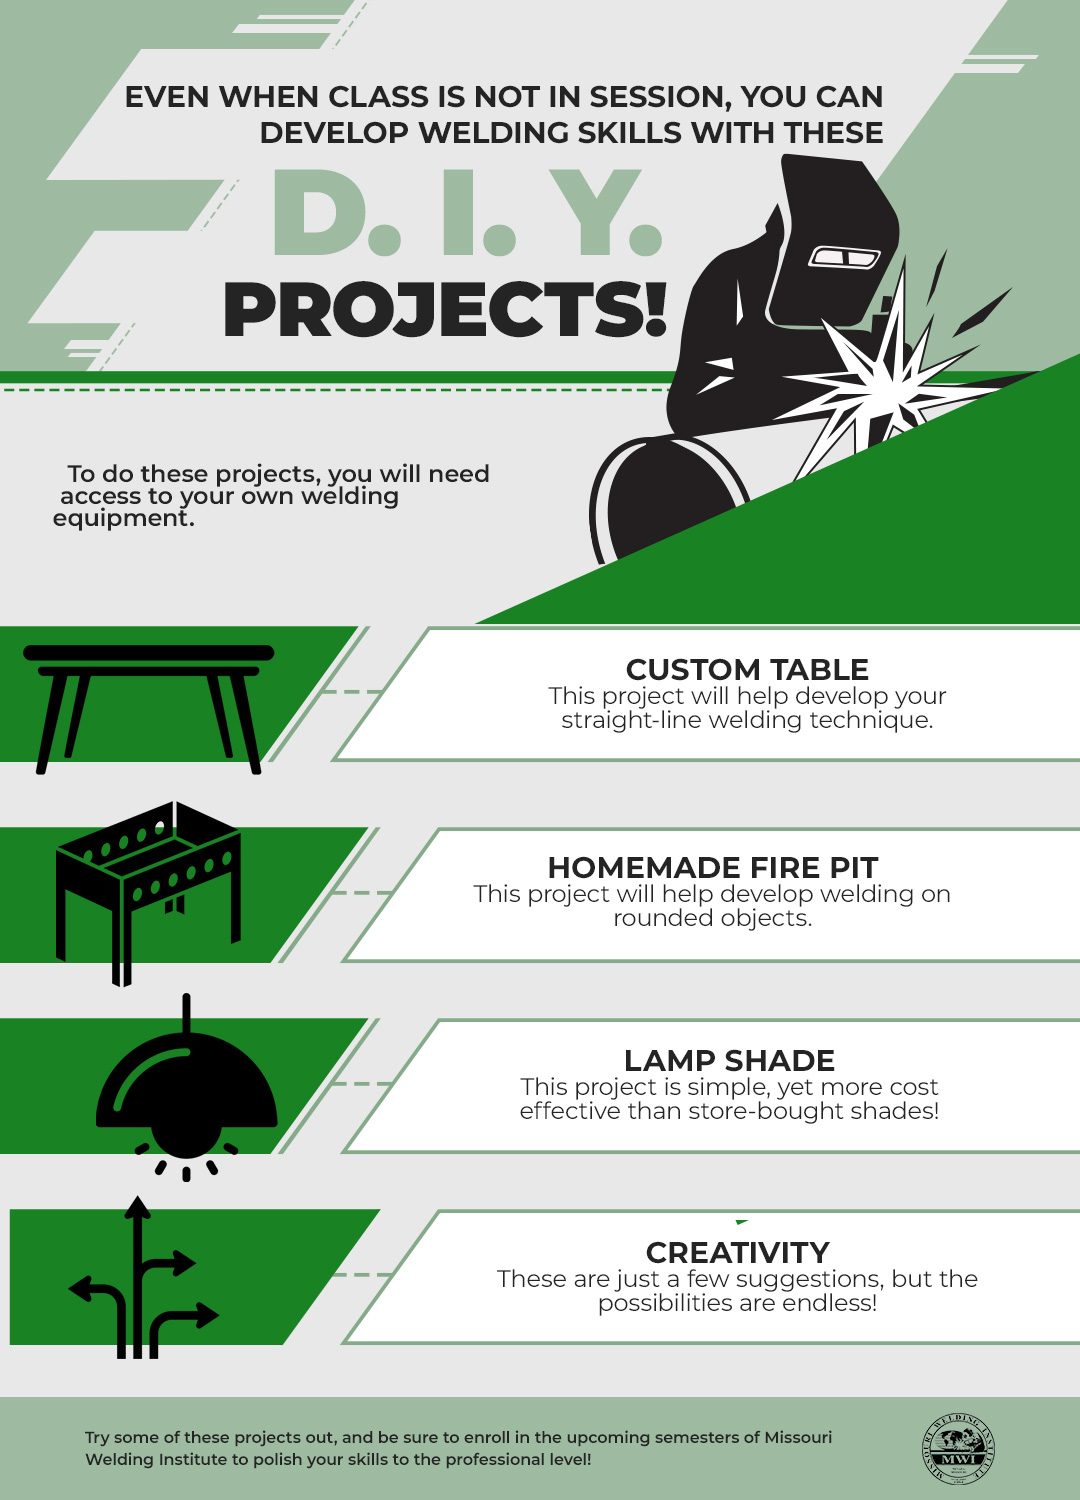
One way to practice your clean welding procedures is to create your own table out of metal parts. By utilizing a handful of straight metal pieces, you can essentially weld each of them at the corners to create the basic outline shape of the table. This will help you with developing clean and precise welding points, and urge you to replicate the same results on multiple pieces. After the basic shape is acquired, layout more straight metal pieces onto the top of the frame. These will each need simple welding to “glue” the top onto the frame. If done correctly, the table will look uniform and aesthetically pleasing, while adding impressive durability to the structure. If all of your welding points are not perfect, but still put together, your table should have the same durability with less aesthetic qualities. It is a simple project to train your precision while also making something that can be useful in everyday life!
Homemade Fire Pit
While stuck at home, you may be finding the desire to snag some extra warmth somewhere on your property. This could be applicable to the living room, a bedroom, or even in your outdoor living space. One welding project you can take on is to create your own fire pit! To make your own fire pit, you will need an empty propane tank and welded framing to create the end result. Before you even begin this project, please ensure that your propane tank is empty. If it is not, then there is a possibility that it could explode when cutting into and molding its shape.
From there, you will cut into the front of the propane tank, creating an opening with a mouth type shape. This is where the wood will be put into, and where the flames will be visible from. You need to also cut another smaller round hole near the bottom of the tank for an ash depositor, and one at the top to let smoke escape the device. After the propane tank has been gutted and properly cut, welding the framing together to make a base and a chimney on top should start to help provide a clearer image of what the finished product will look like. After all of the individual pieces are laid out, it is time to weld them together.
Welding the base to the bottom of the tank will require you to weld in a circle to match the path and shape of the tank. This can be difficult for those just starting as it takes patience and consistent contact with both pieces at once. This will be the same for the chimney and ash depositor. If you can manage to pull this off, you will have an exceptional custom work of art, and if not, you should hopefully still have a functional device.
The final step is to spray paint or paint the fully finished fireplace to your desired color (we recommend matte black). You now have a moveable and functioning fireplace to set up in whatever location you see fit!
Lamp Shade
This can be one of the most simplistic and beneficial welding projects to take on. Traditional lampshades are generally made from fabric, and can only last a few years in typical scenarios. In addition, fabric lampshades can really impact the colors emitted from the lamp based on the fabric color and material.
In order to weld a lampshade together out of metal, you simply need access to scrap steel. Essentially, all you need to do is mold the sheet metal into a cylindrical shape and weld the ends together to maintain that shape. By using additional metal or the framework from an old lampshade, you can create the support system in which the shade will rest on.
Once created and applied to the lamp in question, you will notice that the room illuminates in the color of the bulb itself. The sheet metal can also produce cool patterns onto the wall if porous. This method is unique, cost-effective, and provides a creative look to any room.
Projects For Those Who Do NOT Own Welding Equipment
While it may seem that you are at a loss for how to maintain your skill development while stuck at home without proper welding equipment, there are still ways to polish these skills and develop the steady hand needed to properly execute welding techniques when back on a machine. These techniques might not necessarily transition perfectly to the job or classroom, but they can still provide you with skills to practice so that you don’t feel completely out of the loop.

Notepad Practice
By utilizing a notepad with horizontal lines and a few other common objects such as a pen and penny, you can practice certain skills that transition into the welding practice.
First Exercise
The first exercise is to maintain a constant speed of travel with the pen or marker while following one of the lines on the notebook. Creating a consistent line that follows the same speed throughout will replicate the type of motion and consistency needed to be a successful welder. One way to analyze the effectiveness of this practice is to finish a line and then view it. If there are spots where the line is thinner than other spots, that means you sped up your motion at that moment. This would relate to not properly heating up the surface to the right temperature in the welding world. It would indicate weaker welding points and a flimsier end product. On the contrary, if there are spots where there is a pool of ink or a thicker line, that indicates that you had slowed down during the process of line creation. Translating that into the welding industry, slowing down will overheat the area in question and create a drippy and chunky area. The area will probably be reinforced and durable, but the aesthetic appeal will go out the window.
In addition to constant speed, this practice can help you maintain a consistent angle of attack. Most welding is done at 90-degree or 45-degree angles with the tool. Keeping that in mind should help you practice both angles while creating consistent lines across the page.
Second Exercise
Another exercise to practice skill development with these same tools is to add in the penny. To start, place the penny flat onto the page. Place the tip of your pen or marker onto the penny, and notice how far away the tip of the pen is from the notepad. While it does not seem like a huge distance, most welding is performed with the welding machine barely hovering over the surface that it is working on, as opposed to directly touching it.
Final Exercise
The last exercise related to these skill development pieces of training involves practicing feeding wire into your welds. Feeding wire (also known as filler material) is an important skill to develop because in many welding uses, you need that material to bring two components together that are not already flush with each other. The filler material helps mold the two components together while maintaining a smooth shape free from rigidity and potential hazards.
To practice this exercise, you will need the same resources from the first two exercises, with an added filler material wire. These wires are thin and flimsy metal wires that typically come in lengths of two to three feet.
To begin this exercise, hold the filler wire from the end, leaving two feet from your hand to the notepad. As you can see, the wire is very flimsy and does not follow the same straight line that is achieved from your pen. Now, move your hand up the wire so there is about 6 inches from hand to notepad. You will notice that the wire closest to the notepad is more stabilized and responds better to maintain a straight line.
Make a small circle on one end of the page. This is known as the “puddle,” where metal has been heated enough to start melting and pooling up on one specific spot. From there, begin dragging that line with the pen across the paper. Every inch or so, you’ll want to poke or dab the paper with the filler wire. While it won’t actually leave any residue from being hot enough, the idea of working with the consistency of both hands at once is sure to translate over into the real field of work.
With this same metal wiring, you will need to learn a skill called “ratchet,” in which you move your hands to lower the wire down into the welding area and lower more filler material to continuously add material into the weld. This skill involves positioning your hands in a chopstick position and successfully pushing the wire down towards the notepad. By getting comfortable with this motion under no pressure or heat, you will more easily transition into moving filler wire into the weld without dropping it or putting it into the weld at inconsistent rates.
For an added challenge and reward, practice putting your filler wire into each hand to harness your ambidextrous abilities. While you may never go into a real welding project with the idea of using your non-dominant hand, there may be some scenarios where that is the only choice. If those situations do pop up, you are hopefully more equipped and ready to tackle the challenge as if you were only using your dominant hand.
Proper Welding Training With Missouri Welding Inc.
In the midst of COVID-19 and the global pandemic, we, unfortunately, had to have our doors closed to do our part in maintaining healthy and safe practices. Our current students have had to leave campus and not participate in continued hands-on learning at our facility. We anticipate opening up for students sometime in May, where we can get classes rolling back to normal as much as possible. To learn more about our company and the classes we offer, be sure to contact us. We hope that you consider the Missouri Welding Institute for proper welding education, and be sure to apply/enroll in our upcoming semesters!